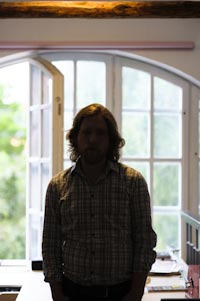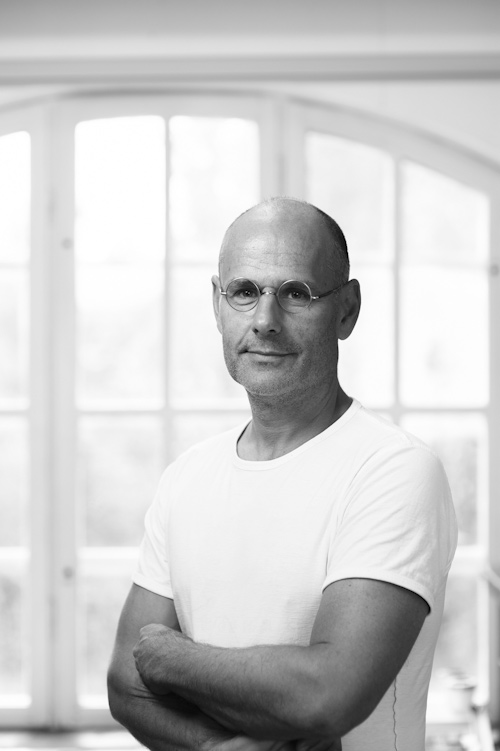
This portrait, taken in a loft where a couple of creatives share office was in fact not the reason that I went there. My assignment was to take a couple of publicity portraits of an illustrator working there, but when I asked some of his colleagues if they needed portraits (as I already had my lights set and was in no hurry) this guy said yes, please, why not?
This might be one of the easiest ways of selling a portrait session, I try to ask whenever I have the time and the moment feels right, someone will usually go for it. It could be some sort of business idea somewhere in this, but I haven’t really had the time to take it further, but selling professional portraits the same way they sell ice cream could really work. The problem might just be to find the right spots?

They had their shared office in a loft, not that big, but with beautiful windows in both ends. Using the old windows as background for this portrait felt good as I later added a few non-flash portraits (when the windows where just the light source and not in the picture).
 I set up my camera on a stand facing one of the windows, and dialled in a good exposure so I still had some details of the blurry trees outside, but mostly an overexposed background that let the subject stand out.
On the test shots, I saw that one of the lights inside their office added what you might call a hair light (even for the guy without hair). Sometimes that small detail, leaving in on, that is, can make portraits like this look a little bit more natural. I don’t exactly know why, maybe it is the mix of different colour temperatures, or the added highlight that makes it look less perfect. And therefore more natural?
With just the light from a Profoto D1 250 Air camera left with a white Softlight Reflector (beautydish), the shadows where a bit too dark for my taste. Instead of just adding a reflector to lighten the shadows, I placed another Profoto D1 behind me pointing at the wall.

By accident, this fill light also added a small catchlight in his eyes, you can see that it is the only catchlight in the first portrait (when he was sitting down and the angle from the main light didn’t throw any light into his eyes).
These portraits where more or less ready to use straight from the camera, but there was one thing I wanted to fix first. After adjusting contrast and some minor details in Lightroom 4, I did a second copy and copied it to a layer with a mask in Photoshop. Using the Highlights tool in Lightroom, there is plenty of room to bring back details that might look blown out. But masking the edges nice and adjusting local opacity is a lot easier in Photoshop.
The problem area was his white t-shirt. With my adjustments in Lightroom, there was too much of it that was pure white, with no detail. But adding that extra layer and a copy with a little less contrast and a negative Hightlights value, I could bring back enought to make it look good again.
Too bad my studio is a bit small for a window like this, otherwise I would love to use it as background more.