
I mostly shoot studio portraits on a neutral background, from white to grey and sometimes black. And that is what my supply of background paper rolls consists of, one super white, one medium neutral grey and one black.
When a consulting company contacted me and wanted business portraits on blue background I first thought I had to buy more background paper, but later I chose a simpler solution. As they needed just half length shots, I used a reflector frame with blue fabric and a couple of clamps to get the surface reasonably even.
Behind the scenes
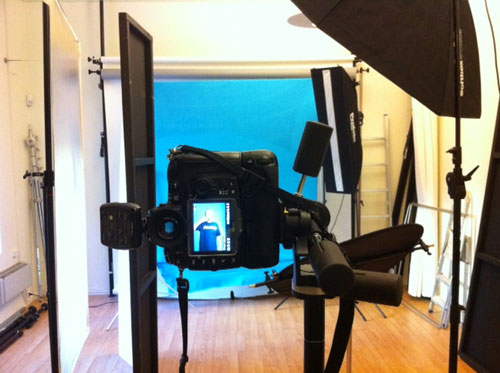
The blue thing in the background of this behind the scenes shot is a Chimera aluminum frame, around 2 x 2 meters big, with a blue fabric stretched around it and fastened with a lot of clamps.
No background light
Lighting the background separately was not really an option as the distance to the model had to be quite small to let the background cover all of the frame for the portrait. Having the model standing that close to the background might even risking having blue reflected light spilling back onto the model.
Lighting Setup
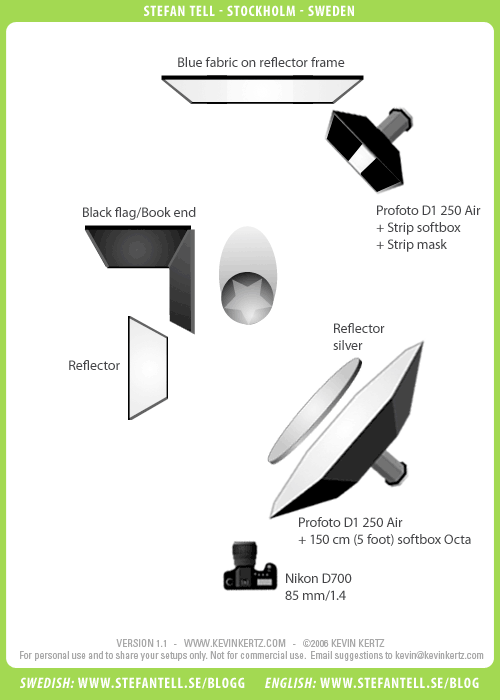
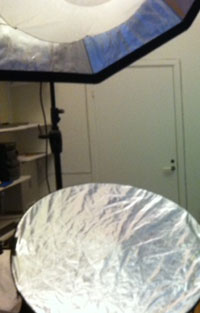 The main light was a Profoto D1 250 Air in a 5 foot Profoto Softbox Octa (150 cm), on a stand below the light I placed a round silver reflector to create more catchlights in the eyes and to lift the shadows a little bit.
On the other side I placed a book end to create more contrast and to deepen the shadows on the shadow side of the body and face. The reflector next to is partly blocked so the reflected light just reaches parts of the face. The effect is not really that visible, but it made a little difference, so I let it stay.
From behind I placed another Profoto D1 with a Strip Softbox and added a strip mask to reduce the rim light to a small strip. I use rim lights a lot, and think that it really helps avoid getting the model blending into the background as well as defining forms and features of the face and clothing.
Easier with the right background
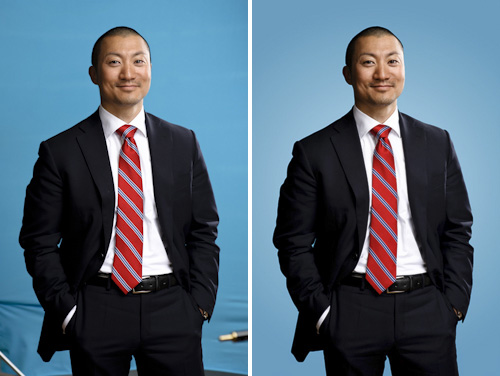
Shooting portraits on a coloured background is a lot easier if the background colour is close to what you want it to be in the final edit. Photoshop, masking and changing colour can go a long way in creating something ok, but getting it almost right in the studio saves a lot of time.
Masking and selections
 The portrait on the left above is from Lightroom before I started with the background, and on the right is the final image.
I used the Quick Selection Tool and created a Quick Mask of the background, then refined the borders with the new and very fantastic Refine Mask dialog (click on the mask and the the tab “Masks” next to the “Adjustments”-panel and the “Mask Edge…”).
Experimenting a little with the settings Smooth (good for avoiding jagged edges), Feather (if you want a softer transition of the edges with transparency), Contrast and Shift Edge (if you want the selection border closer to the face/body or more far away).
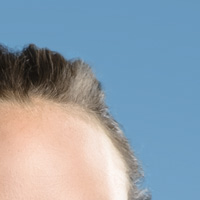 The new feature “Edge Detection” and “Smart Radius” is great if you need more realistic cutouts of hair and details, but it takes a lot of micromanagement to get it right, often it is easier to do that with different layers and mask.
On the right you can see another portrait from the same session, this time a girl with a little more complicated and detailed hair.
Trying to get the new background to blend in right between all the stray hairs would be very time consuming and frustrating, but if you begin with a colour and tone that is close to what you want to have in the final image it is a lot easier.
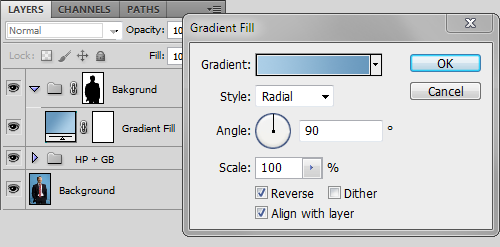
When the layer mask was completed I just added the mask to a layer group containing a Gradient Fill with a gradient between two blue tones. The blue tones I picked up from the original image so it would be easier to get the borders of the body, face and head right.
The reason for placing it in a group was if I later wanted to add more adjustments to the background only, but that was not necessary. The other group, named HP + GB, is my standard skin retouch procedure involving a layer with Gaussian Blur applied, and another with the High Pass filter.
Another good thing with using a fake background like the one I created with the Gradient Fill is that if you ever need to take more portraits with the exact same look and feeling it is a lot easier just to focus on getting the portraits right, and paste them onto the same background the others are using.
I hope you liked this guide/tutorial, and if you have any questions or comments, please let me know.